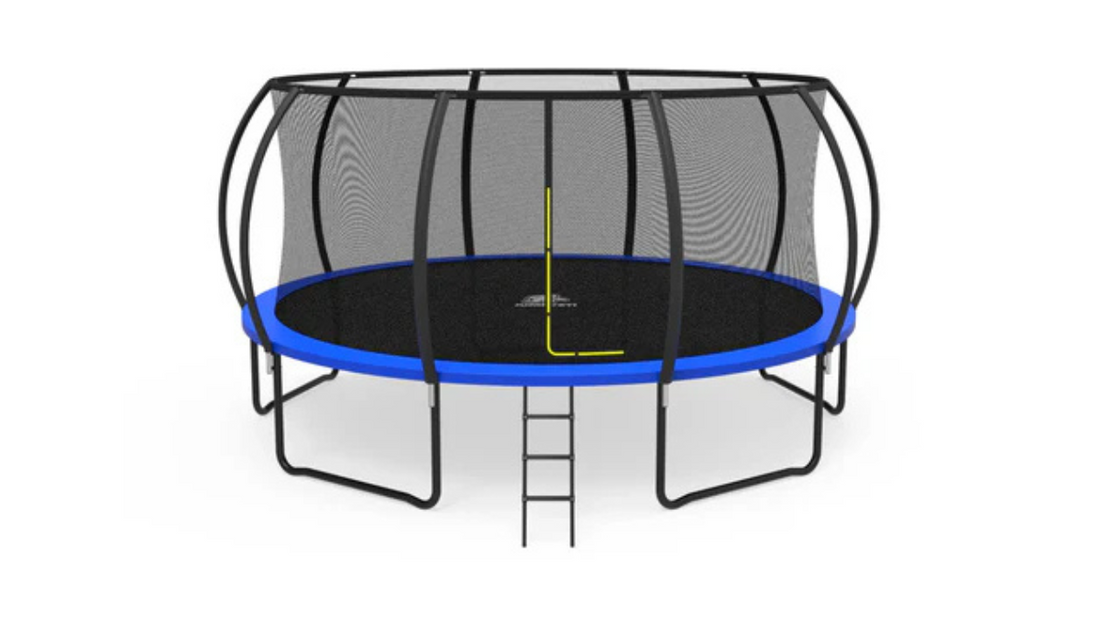
Install Guide for Your JumpYeti Round Trampoline
Share
Are you about to install your brand-new JumpYeti round trampoline? Proper trampoline setup always starts with thoughtful ground preparation. In this guide, we’ll walk you through each step of the process—from selecting a location to creating a level foundation. With the proper setup, you’ll enjoy years of backyard enjoyment on your JumpYeti round trampoline.
What’s Included in the Box
Before you start any ground prep, make sure you have everything you need:
- Round frame sections
- Legs or base supports
- Jam-resistant springs
- Jump mat
- Safety padding
- Safety net enclosure
-
Hardware and basic tools
Take a moment to unpack all components and lay them out. Having everything visible and accounted for will prevent surprises while you’re installing your JumpYeti round trampoline.
Choosing the Right Location in Your Yard
The location of your JumpYeti round trampoline can significantly impact safety and performance. Follow these guidelines for the best results:
-
Flat and level ground: Make sure the area is free from slopes or dips.
- Clearance zone: Leave at least 3–6 feet of space around the perimeter, plus overhead clearance.
- No obstacles: Avoid trees, fences, playsets, and power lines.
-
Sun and wind exposure: A mix of sun and shade is ideal; shelter from wind helps stability.
Selecting a safe and open area ensures that there's no risk of hitting anything while your JumpYeti round trampoline is in use, and it also makes the installation process easier.
Tools You’ll Need for Assembly
Ground prep is simple and mostly tool-free, but gathering the following tools will streamline the entire process:
- Measuring tape
- Stakes and string or spray chalk (for marking)
- Rubble-free tarp or cloth for ground protection
- Spirit level (optional but useful for site checks)
-
Ground anchor kit (highly recommended for windy regions)
Having the right tools ready ahead of time helps you stay organized and efficient while setting up your JumpYeti round trampoline.
Step 1: Clearing the Area
Start by removing:
-
Rocks, sticks, or debris
- Tall grass or weeds
-
Root clumps or loose topsoil
A clean site ensures a stable, level base, which protects your trampoline’s springs and padding from damage and wear.
Step 2: Leveling the Ground
A JumpYeti round trampoline performs best on a level surface. Even a small tilt can strain the frame or cause uneven wear. Here’s how to level your site:
-
Mark out the trampoline’s outline (usually 8–15 feet).
-
Use a spirit level to check for uneven spots.
-
Add or remove soil as needed to maintain a flat surface.
-
Lightly compact and smooth the ground once the levels are even.
Even if it's mostly flat, a quick check and minor adjustment can prevent larger issues down the road.
Step 3: Choosing the Right Ground Type
Ideal surfaces include:
- Grass: Offers natural cushioning but needs regular trimming.
- Playground rubber mulch: Provides soft landing and splash protection.
- Artificial turf: Offers great drainage and even footing.
-
Avoid bare dirt (too hard or muddy), sand (shifts), and rocky ground.
If you're setting up on grass, consider using a tarp or ground cloth beneath the trampoline to reduce wear and moisture.
Step 4: Marking and Measuring
Once the area is cleared and leveled:
- Measure the jumper’s diameter, then add 3–6 feet on all sides to mark your safe zone.
- Use stakes and string or spray chalk to visualize the area.
-
Confirm the marked circle is perfectly round before proceeding.
This step helps ensure user safety and prevents accidental collisions with nearby objects.
Step 5: Optional Anchoring
JumpYeti recommends a ground anchor kit, especially in areas prone to wind. Anchoring helps:
- Keep the trampoline stable during heavy use
- Prevent tipping in strong winds
-
Extend the lifespan of the spring and frame system
If you're installing a JumpYeti round trampoline on soft or sandy soil, anchoring is even more important.
Final Checks Before Assembly
Before bringing in the JumpYeti round trampoline parts:
-
Confirm the ground is level, stable, and free of debris
-
Ensure proper clearance around the entire area
-
Double-check measurements and marking
-
Have your tools and components accessible and ready
This final inspection makes assembly smoother and gives you confidence that you're building on solid ground.
Final Thoughts: Get the Most Out of Your JumpYeti Trampoline
Ground prep might seem like a small step, but it's the most important thing to do for your JumpYeti round trampoline. A clean, flat, and well-anchored setup doesn’t just boost performance—it keeps every jumper safer.
Frequently Asked Questions
1. Do I need to level the ground before installing the trampoline?
Yes. A level surface ensures even wear, reduces stress on the frame, and enhances bounce quality.
2. What type of ground is best for setting up the trampoline?
Grass, artificial turf, or compacted ground with landscape cloth is ideal. Avoid setting up your JumpYeti round trampoline on rocky, sandy, or uneven dirt.
3. Can I place the trampoline directly on grass?
Yes, placing it on grass works well, but you need to trim the grass regularly and consider using a tarp to reduce moisture contact.
4. Do I need to clear the area before setup?
Be sure to remove sticks, rocks, roots, and tall grass to ensure a stable and safe base.
5. How much space should I leave around the trampoline? Leave at least 3–6 feet of clearance on all sides of your JumpYeti round trampoline, with sufficient overhead space (at least 10 feet if possible) for safe use.