Easy Assembly: Jump Yeti Trampoline Setup Guide
Share
When you make a trampoline purchase, you might not have considered how you are going to assemble it. Will you need special tools or training to put it together? Will your new trampoline require a large group in order to assemble it? What happens if you do something wrong and break a piece while you are assembling the trampoline?
At Jump Yeti, we aim to provide a trampoline that your entire family can enjoy. That means that we designed a trampoline that is easy to assemble and stress-free to put together. This ensures that your family spends less time staring at a box of parts and more time enjoying themselves on their brand-new trampoline.
To help ease your concerns, here is a Jump Yeti trampoline setup guide that gives you everything you need to know when you assemble your own Jump Yeti trampoline.
Step-by-Step Guide to Setting Up a Jump Yeti Trampoline
Here is a step-by-step guide that you can follow along with as you put together your JumpYeti trampoline. Remember, if you have any questions, you can always refer to the instruction manual that came along with your trampoline parts.
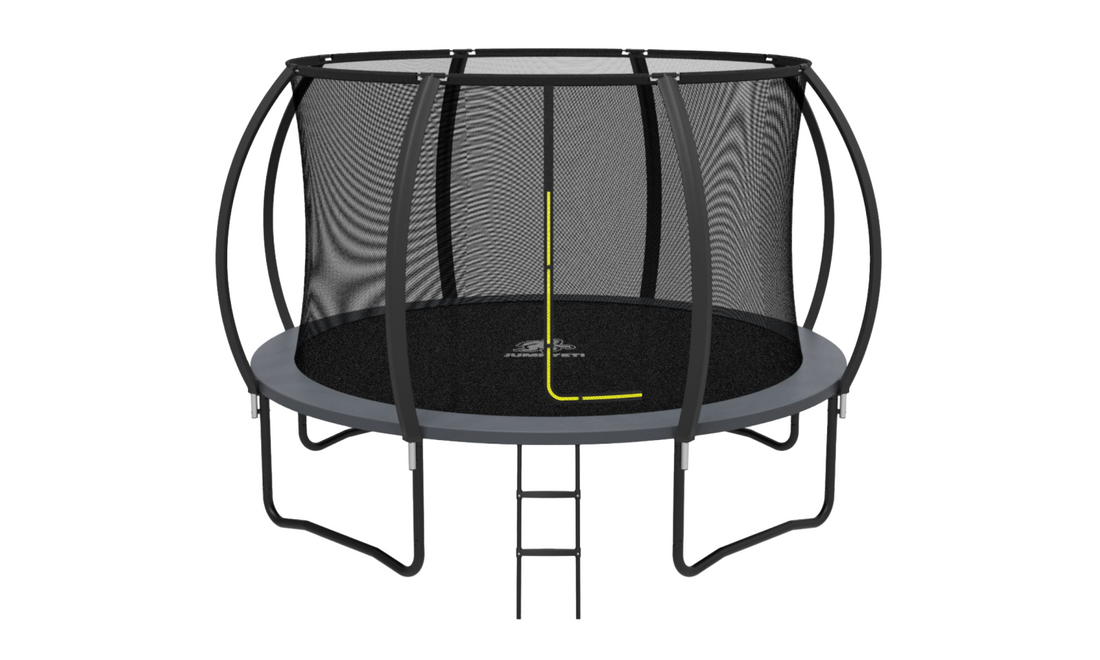
How to Assemble the Jump Yeti Frame
To begin assembly of your Jump Yeti trampoline, you should sort the pieces into separate piles. For this step, you will want to separate the trampoline legs and the frame from the rest of the pieces. The frame pieces will be extended in half circles, and the legs will be U-shaped poles.
There may be a slight difference depending on which Jump Yeti trampoline you purchased. If you bought the 12-foot or the 14-foot trampoline, you should have 4 frame pieces and 4 legs. If you purchased the 15-foot trampoline instead, you will have five frame pieces and five legs instead.
Take one of the frame pieces to begin assembly of the trampoline frame. It should have two nubs sticking out from below the frame. Take 2 trampoline legs. Insert one end of the leg around the nub. Repeat with the other leg. The legs should both have an open end extending past the edge of the frame piece.
Take another frame piece and insert its nub into the empty end on one of the legs. Press the two ends of the frame pieces together. Repeat on the other end. Take a leg and insert one end into the available nub below the frame. The open end of the leg should extend past the frame piece like before. Repeat on the other side.
Take the final piece of frame and place the final leg underneath it. Attach the frame piece to the frame pieces on either side. Once connected, the frame piece should form a complete circle. If you have trouble aligning the final frame piece, go to each frame connection and jostle them a little to give yourself more wiggle room. Your trampoline frame is now complete.
How to Add the Springs and Jump Mat
The springs can now be added. To add the mat as easily as possible, you should add the springs in this manner. Pick a spot and hook a spring to the frame. Count 10 holes in either direction from that spot and add a spring there. Continue this pattern by counting 10 holes and adding a spring until you return to your original hole.
Place the jump mat in the center of the trampoline frame. Starting from your first spring, hook the mat and the frame together. Walk in a circle and repeat with each of the springs you have placed. Once you have completed a full lap, begin attaching springs every 5 spots.
This will ensure the jump mat is not stretched too far to one side. Once complete, repeat but add a spring every 3 spots, then 2, and finally fill in any remaining spots. Your jump mat and every spring should be attached now.
How to Add Safety Features
At this point, you may add the safety net. It will attach atop the frame, and the net can be hung between the poles. The safety pad can be placed over the springs now and tied into place to prevent it from blowing away. Your Jump Yeti trampoline is now assembled.
Assembly should take between 30 minutes and an hour, depending on how many people you have to help you. If you have more hands, they can be beneficial when attaching the springs.
Where to Find Genuine Jump Yeti Trampoline Spare Parts
If you notice that you are missing parts or you have received a broken part as part of your order, you should contact Jump Yeti as soon as possible. Items purchased can receive a refund within 30 of you receiving your order. If any pieces are missing or damaged, they are likely covered under Jump Yeti’s warranty and will be replaced.